The BOMBANANA! Manual, Explained
Every BOMBANANA! round has exactly one player with the answer key: the Mute Monkey, the only role that can read the bomb defusal manual. The game even puts a "Bomb Defusal for Dummies" manual in the main menu so teams can study before a run. This page is about how to actually use it under timer pressure.
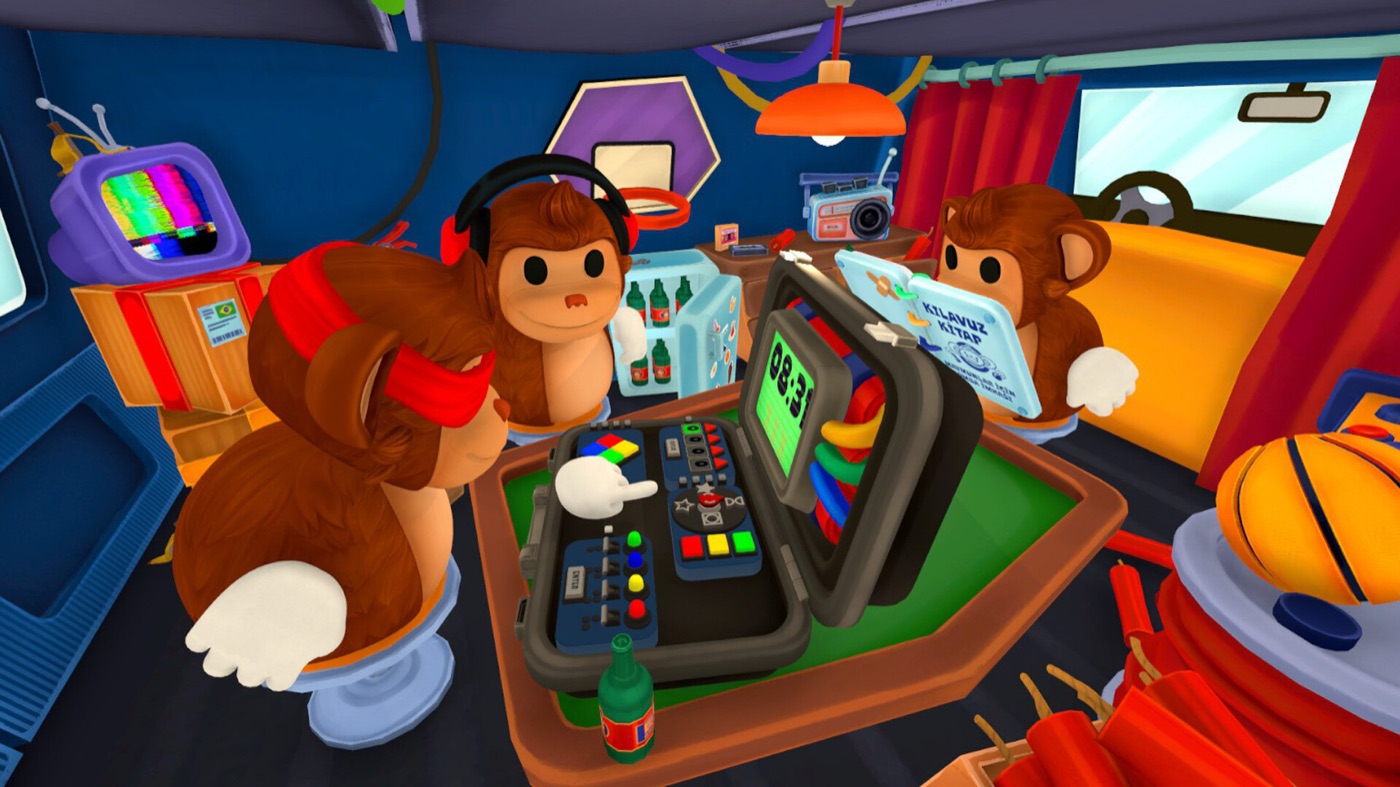
Who Reads the Manual — and Who Does Everything Else
| Role | Owns | Opening call |
|---|---|---|
| Bomb handler (Blind) | Visible module state and physical controls | "Module name, position, color, number, direction, current light." |
| Manual reader (Mute) | The rule branch and the allowed action | "I need the module state again if one detail is missing." |
| Bridge (Deaf) | Shared wording and final confirmation | "I will repeat one action; say stop if it is wrong." |
The one-line team rule: describe first, translate second, confirm third, touch last. If any player says "wait," the handler freezes until the state is described again.
How to Read a Manual Page
A manual page is a decision tree, not an answer list. Reading it well means three habits:
- Demand a complete input packet. Each module needs specific fields before the page can be read at all — for Cable that is wire count, active light, and colors left to right. If one field is missing, ask for it instead of guessing the branch. "Green light" alone is ambiguous because 3-cable and 4-cable boards use different mappings.
- Keep input and output different. The panel state sounds like "Cable. Three. Green light. Green, Blue, Yellow." The answer sounds like "Yellow. Third from the left." The input contains everything needed to solve; the output contains only what is needed to act. That stops a color from the description being mistaken for the final target.
- Translate to a physical action before signaling. The manual may say "Blue," but the Blind Monkey needs "second cable from the left." Color is confirmation; position is what makes the answer actionable.
Turning Answers into Gestures
The Mute cannot speak, so the manual answer has to survive as head nods, head shakes and numbered fingers. Two conventions from public guides:
- Numpad mapping for directions: 2 = down, 4 = left, 6 = right, 8 = up.
- Pre-assigned numbers for colors: agree on them before the round starts, not mid-bomb.
Ask targeted yes/no questions to verify which information is needed — a nod costs a second; a wrong branch costs the bomb.
The Demo Manual Has Blank Pages
One honest caveat: the demo manual still has blank pages where the full release fills in more instructions, and public guides deliberately avoid handing out exact answer tables for that reason — a confidently wrong answer key would get people blown up. What holds steady is the process: gather the right information, call it in the right order, confirm, then act. If you find a "full BOMBANANA manual PDF" on a random site, treat it as unverified unless the developer links it.
Division of Labor That Works
- Mute: read and interpret the manual, convert colors and directions into numbered gestures, stay calm, integrate clues from both teammates at once.
- Deaf: describe only the useful details, watch the Mute gestures, manage the countdown pace.
- Blind: report Braille values honestly ("unknown" beats guessing), repeat the final action back, then act.
If the right information repeatedly disappears between Mute, Deaf and Blind, the problem is not the manual — it is the relay. See the tips page and the module guide for the callout procedures per panel.
Sources: bombanana.blog walkthrough role table, Game8 demo review, whisperofthehouse manual and wire guides, Mobalytics callout guide, bombanana.net role tips.